Increase/Decrease Windows Explorer Search Bar Size in Windows 7
With the release of Windows Vista and Windows 7 in the market many new features are also introduced and one of the best features that have greatly enhanced the performance of the operating system is the quick search bar. The quick search is available at top right corner of any Windows Explorer window and users can type in the name of the desired object to find it on the current location. This option has its own text field in which users can type in the names of the objects. However many times the name of the objects can be long enough to fit in the entire field and therefore the entire text cannot be fully displayed in it. This may sometimes result in error full text typing which may further result in undesired searched objects. To eliminate this problem users can increase the size of the field in order to get the full text displayed while typing. As a Windows 7 user if you want to do so you are required to follow the steps given below:
-
Logon to Windows 7 computer with any account.
-
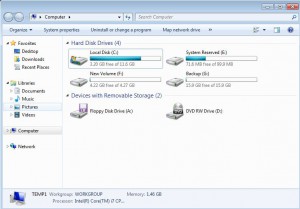
Browse through locate and open Windows Explorer window of your desired location.
-
Take your mouse pointer to the middle of the Title Bar and Search Bar.
-
You will notice that the mouse pointer has turned to the line with arrows on both sides.
-
Click and drag the mouse to the left to increase the size of search bar and drag it to the right to decrease it.
-
Once convinced with the size release the mouse button.