Create a shortcut to start the Screensaver in Windows 7
Shortcuts have been playing an important role in the history of Microsoft operating systems. With the help of shortcuts users can easily access the applications or objects they want. In more than 90% cases whenever any application is installed a shortcut to that application is automatically placed on the desktop. If in some cases the shortcut is not automatically created and placed users can do so manually. Whatsoever the case is shortcut of any application or object is an easy way to get access to the entity instantaneously. However many people do not know that shortcuts can not only be used for applications or objects but can also be used to initialize and configure the screensavers as well. The only drawback while creating shortcut for the screensaver is that each screensaver requires an individual shortcut to initialize itself that is one shortcut for one screensaver. As a Windows 7 user if you want to create a shortcut for any screensaver you are required to follow the steps given as below:
- Logon to Windows 7 computer with the account for whom you want to create a shortcut for the screensaver.
- Right click anywhere on the desktop and from the context menu go to New.
- From the appeared submenu click on Shortcut.
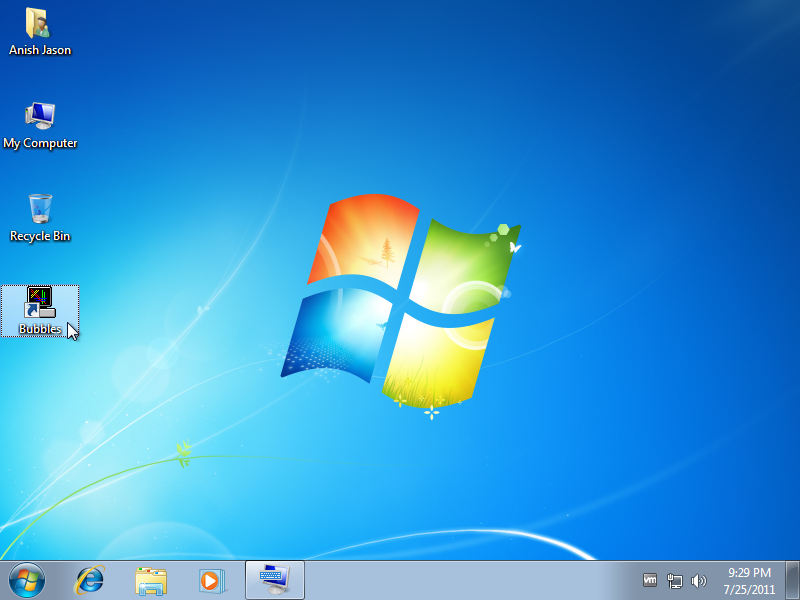
- On the opened box type in the full DOS path of the screensaver file in Type the location of the item field followed by /s for example %systemroot%system32Bubbles.scr /s and click on Next button. Alternatively you can click on Browse button to locate the file.
- On the new page specify the name of the shortcut as desired and click on Finish button to create a shortcut for the desired screensaver.